> ## Documentation Index
> Fetch the complete documentation index at: https://help.cryptolens.io/llms.txt
> Use this file to discover all available pages before exploring further.
# (Example) Stripe products and plans
> In this tutorial, we will focus on how to create a product and a pricing plan step by step. This is complementary material to this tutorial. The goal is to make sure that your metadata for the product and the pricing plan are set up correctly.
## Creating a product
To create a product, click on Product in the left menu:
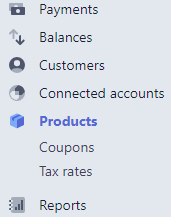 Then click on **Add Product**:
 You will now see a page similar to the one below. When you click **Save Product**, Stripe will combine product and pricing plan creation into one step. We will still need to change a couple of properties afterwards.
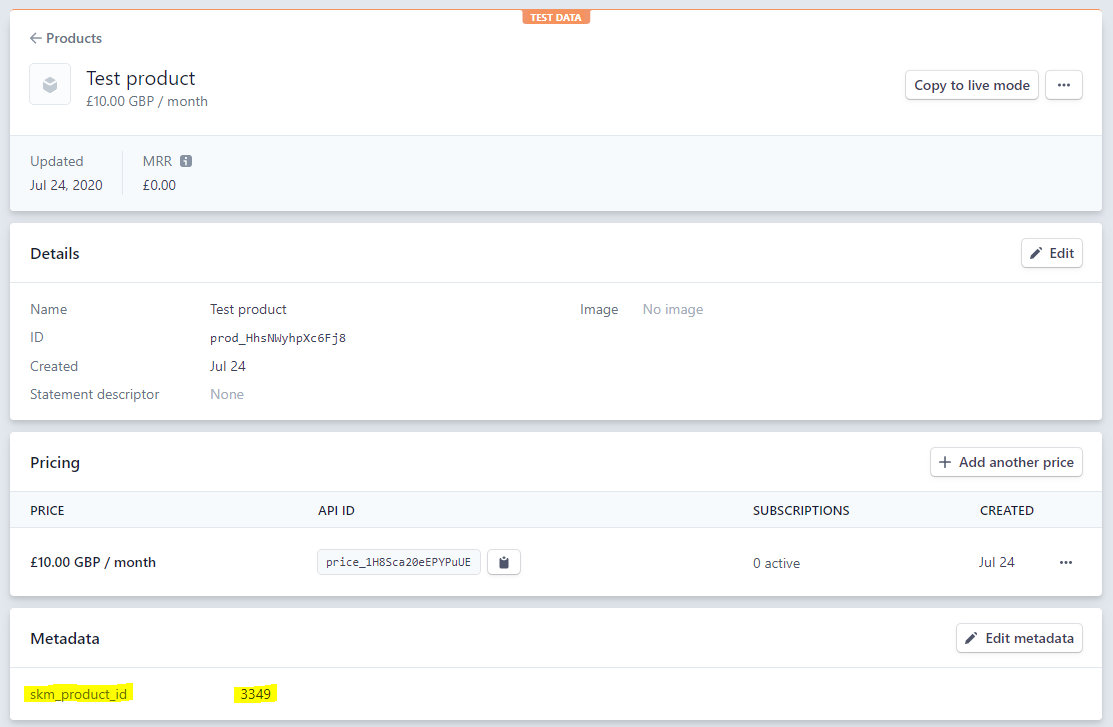
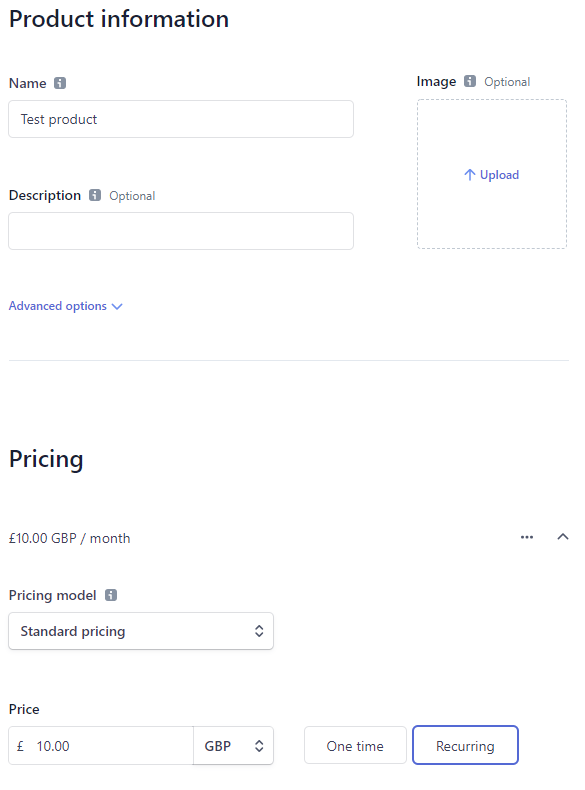 Once the product is saved, please add the ID of the product in Cryptolens and save it as `skm_product_id`. This is the only metadata field we need to add to a product. Now, you just need to update the price plan, which can be accomplished by clicking on it under **Pricing**.
 ## Updating pricing plan
The only thing left is to update the metadata of the pricing plan and its description. First, let’s add the metadata field.
## Updating pricing plan
The only thing left is to update the metadata of the pricing plan and its description. First, let’s add the metadata field.
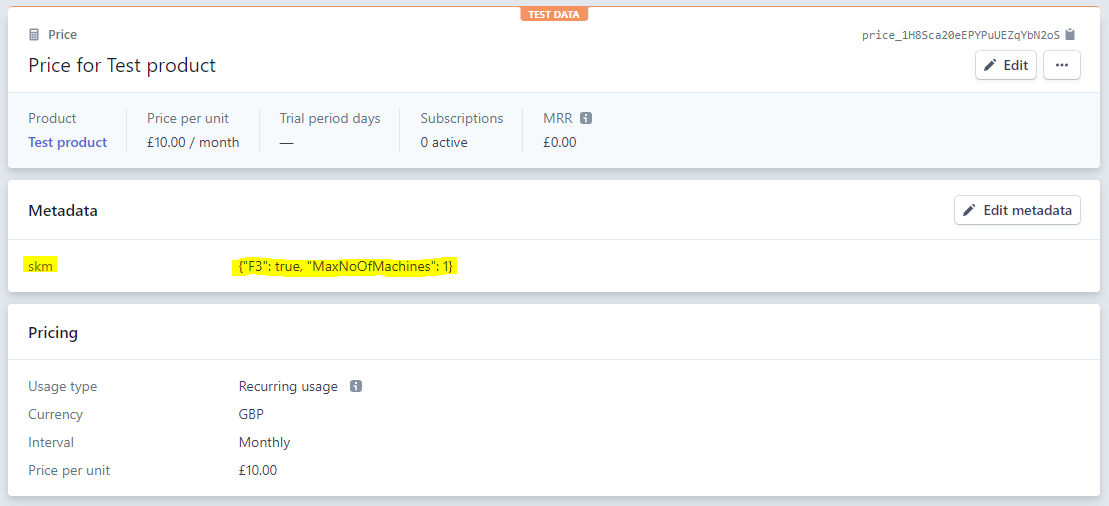 The value of `skm` is a JSON object of parameters that will be sent to the [CreateKey](https://app.cryptolens.io/docs/api/v3/CreateKey) method. More information about this can be found [here](https://help.cryptolens.io/recurring-payments/setup#plans).
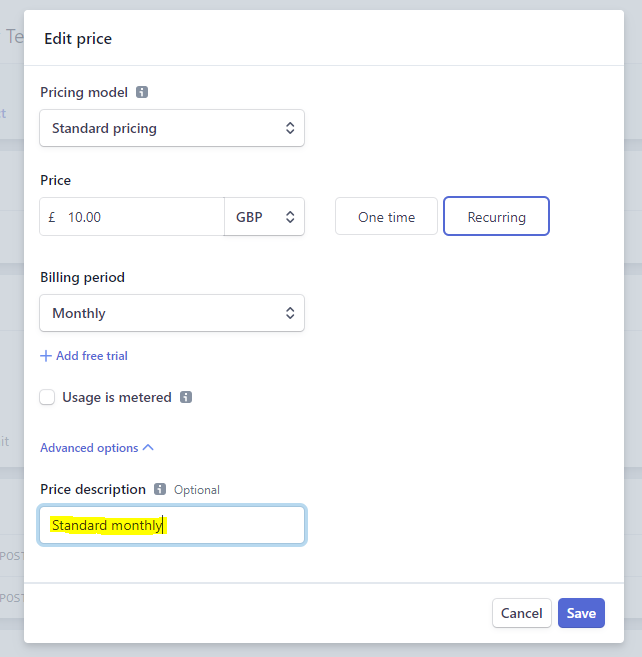
The last step is to add a **Price description** to the pricing plan, so that it can be displayed in the customer portal. You need to click **Advanced options** to see this field.
The value of `skm` is a JSON object of parameters that will be sent to the [CreateKey](https://app.cryptolens.io/docs/api/v3/CreateKey) method. More information about this can be found [here](https://help.cryptolens.io/recurring-payments/setup#plans).
The last step is to add a **Price description** to the pricing plan, so that it can be displayed in the customer portal. You need to click **Advanced options** to see this field.
 Now, everything should be set up correctly. If you still encounter any issues, please get in touch with us!