Goal
After the steps below, we want to set up a payment form for the product Software Protector 365. We will charge $45 for it. Once a payment is complete, we will give the user a valid license key. We will use both PayPal and Stripe to process the payment. We will also notify our web application that the payment was processed.Setup
Payment Form
- The first step is to create a Payment Form. In the top menu, click on Forms > Payment Forms. Then, click on **Create new Payment Form **(blue button).
- Enter a name and a short description of the form and press Create.
-
Now, you will see many different options:

- Set the currency to “USD”. Then, set **price **to “45”.
-
In the custom message, enter
Payment Processor
We now have an almost working Payment Form. However, we need to tell it how it should process a payment. Right now, we can use both PayPal and Stripe. First, let’s create a Payment Processor.- If you haven’t changed the page (i.e. you are on the page you were in the last step of Payment Form tutorial), click on the big blue plus (+) to the right of Stripe or PayPal. Now, go to directly to step 5.
- (if not (1)) Otherwise, click on Forms > Payment Forms in the top menu.
- Press on **See Payment Processors **(orange button).
- Press on Create new Payment Processor (blue button)
- Enter a name and a **description **and press Create.

PayPal
- Ensure that Payment Processor is set to “PayPal”.
- In PayPal, you can test your the system by being in Sandbox mode. If you want to be in Sandbox mode, please check the box.
- In the public key box, you should enter your “primary business email”. This is the email address where the money will be sent.
-
In the private key box, you should enter your “identity token”. You can find it on your PayPal page by clicking on Profile (top menu, right corner) > Account Settings > Website Preferences. On that page, select Auto Return to “On”, enter “https://app.cryptolens.io/Form/IPN/” and finally set Payment Data Transfer to “On”. Then, press on Save. An identity token will be generated for you.
If you want to receive payments in a currency that is not your default currency, please ensure that you allow other currencies. You can do so by going to Profile (top menu, right corner) > Account Settings > Block Payments and select ”Yes, accept and convert them to U.S. Dollars”. Tip: If you are using the classical interface, you would need to go to Profile (top menu, right corner) > My Selling Tools (in both scenarios).
Stripe
- Ensure that Payment Processor is set to “Stripe”.
- Open your Stripe Dashboard here: https://dashboard.stripe.com/test/dashboard. Note, for this example, we are using the test dashboard. For live payments, you should use the live dashboard.
- In the top right corner, click on your name and select “Account Settings”.
- Now, select API keys tab.
- Here, you can find both your test keys (equivalent to sandbox mode in PayPal) and the live keys. Since we are still testing, please select the test public key and insert it into public key field. Do the same for the private key.
- Press save. Now we are done!
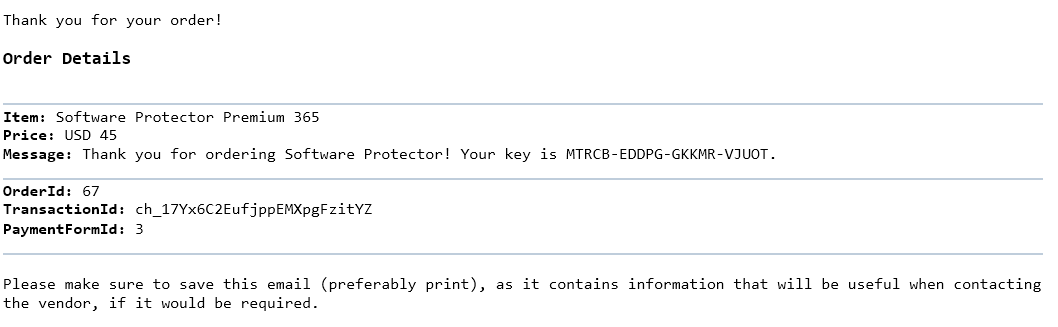
Adding a Request (aka Webhooks)
Finally, we want to make sure that a new key is generated, which can be achieved using Create Key method combined with Data Requests. Note, the difference between a data request and a void request (as described here) is that a data request allows us to use the result from a third party (in this case Web API) to change the message displayed once an order is processed. A void request is simply used to notify another site that a payment was processed. Let’s start by adding a new data request. To do this, please press on the big plus button in the **request **section. You would see a page similar to the one below.
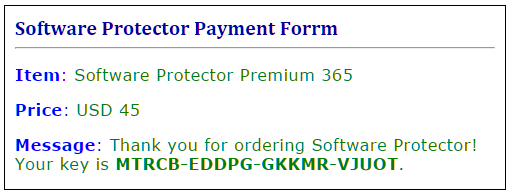
Preview the Form
Once this is complete, please press Preview. Preview contains a link to the live payment form that is ready to process transactions. Below is an illustration of how it might look like.
You can view the live form here.